Building a Retail Product Delta Table with Databricks Unity Catalog
Many times when we start out building a new data warehouse there are a lot of decision decisions to be made. To get going quickly with Delta tables on Databricks for slow changing tables we can use CREATE TABLE AS SELECT (CTAS) statements.
Using a CREATE TABLE AS SELECT (CTAS) statement is a highly efficient way to perform a one-time data load into a Databricks table directly from source files like CSVs. This single-command approach is particularly useful for creating dimension tables or other datasets that do not require frequent updates. In this guide, we'll walk through this method to build a foundational piece of a retail database: the product table. This core table will be created as a Unity Catalog managed Delta table, making it immediately ready to be joined with other data, such as orders and customer information, to generate key business metrics.
The Plan: From CSV Files to a Queryable Table
Our goal is to transform a set of CSV files containing product information into a structured, governed Delta table within Unity Catalog. We will use the CTAS method because it combines simplicity and power, making it ideal for this kind of single-load task. The process involves two main stages. First, we will stage the raw data by creating a Unity Catalog Volume to store our source CSV files. Second, we will write and execute a single SQL statement that reads the files from the Volume and materializes the Delta table in one seamless operation.
Step 1: Stage the Product Data in a Volume
Before we can build our table, we need a centralized location for our raw data files. Unity Catalog Volumes are the perfect tool for this job, as they allow us to store, govern, and access non-tabular data, like our CSVs, from within the Databricks environment.
To begin, we navigate to our desired location in the Catalog Explorer—for this project, the silver schema within the big_cloud_dealz_development catalog. Creating a volume is straightforward: simply click the "Create" button, select "Volume" from the dropdown, and assign it a name, such as product_data_upload.
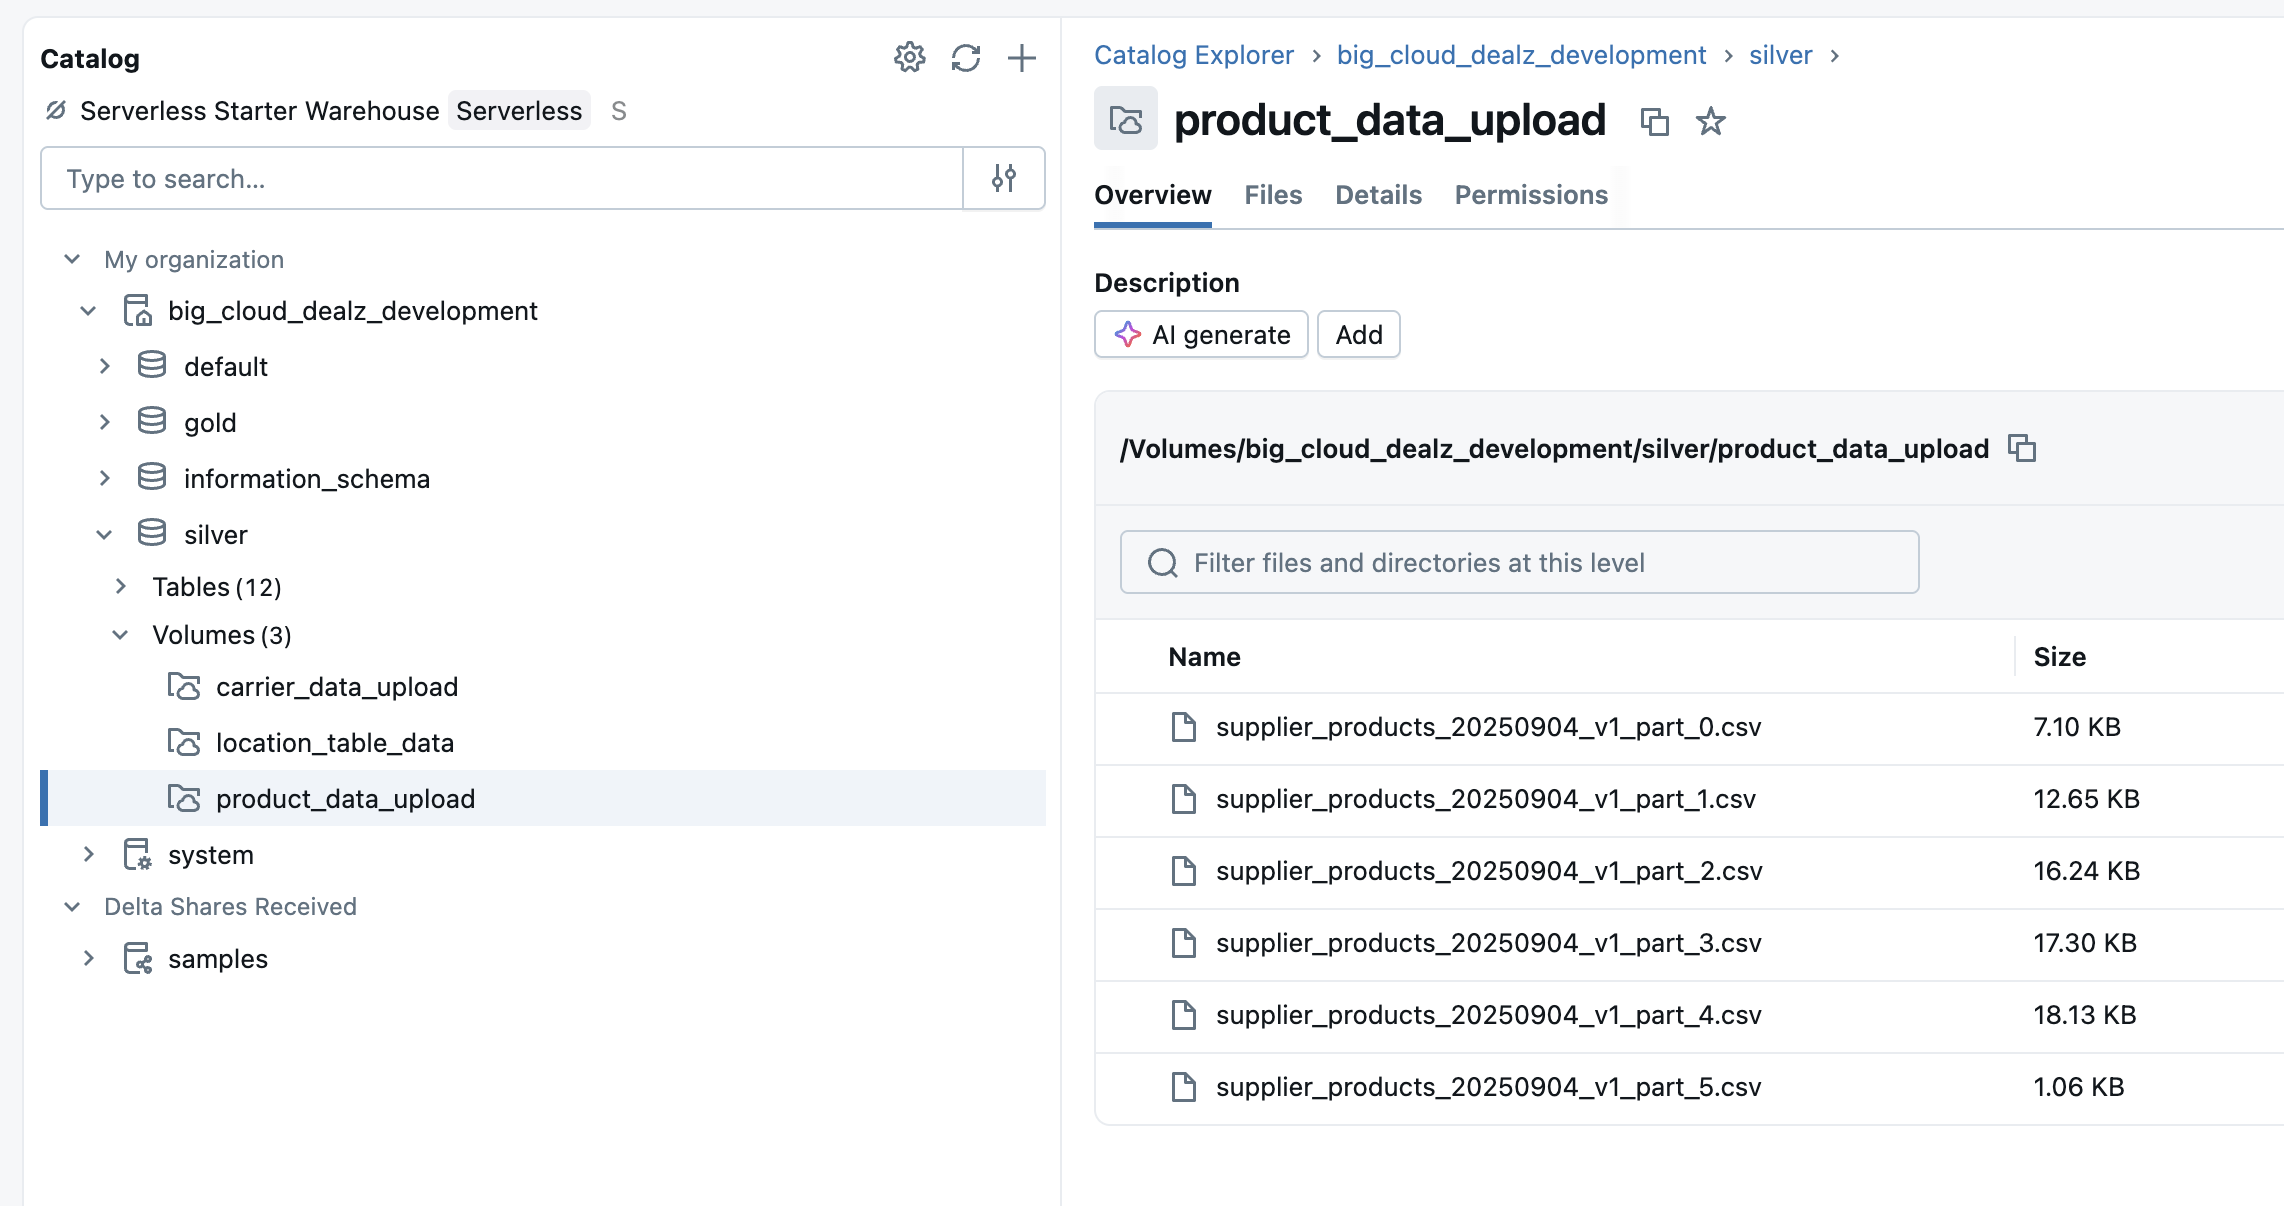
With the volume created, we can upload our product CSV files using the Databricks UI. By selecting our volume and clicking "Upload to this volume," we can drag and drop the files directly. Once uploaded, the files are staged and ready for use. The UI conveniently provides the exact path to the volume, which we will need for our SQL query: /Volumes/big_cloud_dealz_development/silver/product_data_upload/.
Step 2: Build the Table with a CTAS Statement
Now we arrive at the main event: creating the table. The CREATE TABLE AS SELECT (CTAS) statement will read the data directly from our staged CSV files and load it into a new Delta table named dim_products. This powerful, single statement handles table definition, schema inference, and data insertion all at once.
Here is the complete SQL query to accomplish this:
CREATE OR REPLACE TABLE big_cloud_dealz_development.silver.dim_products
USING DELTA
AS
SELECT
  CAST(sku_sk AS INT) AS sku_sk,
  CAST(product_id AS STRING) AS product_id,
  CAST(supplier_id AS INT) AS supplier_id,
  CAST(category AS STRING) AS category,
  CAST(brand AS STRING) AS brand,
  CAST(product_name AS STRING) AS product_name
FROM read_files(
  '/Volumes/big_cloud_dealz_development/silver/product_data_upload/',
  format => 'csv',
  header => true,
  inferSchema => true
);
This command elegantly performs several actions. The CREATE OR REPLACE TABLE clause defines our table's name, big_cloud_dealz_development.silver.dim_products, and the OR REPLACE option ensures the query is idempotent, meaning it can be re-run without errors. USING DELTA specifies that we are creating a table in the default and recommended Delta Lake format. The core of the statement is the AS SELECT clause, where the results of the query populate the new table. Inside, we use the read_files function to access the data in our Volume, specifying the format is csv, that the files contain a header row, and that inferSchema should be used to automatically detect column types. Finally, while schema inference is convenient, it is a best practice to explicitly CAST columns to their desired data types to ensure data quality and prevent unexpected errors.
The Result: A Ready-to-Use Product Table
After running the CTAS statement, our dim_products table is instantly created and available in the silver schema. As a Unity Catalog managed table, it is fully governed and immediately ready for querying.
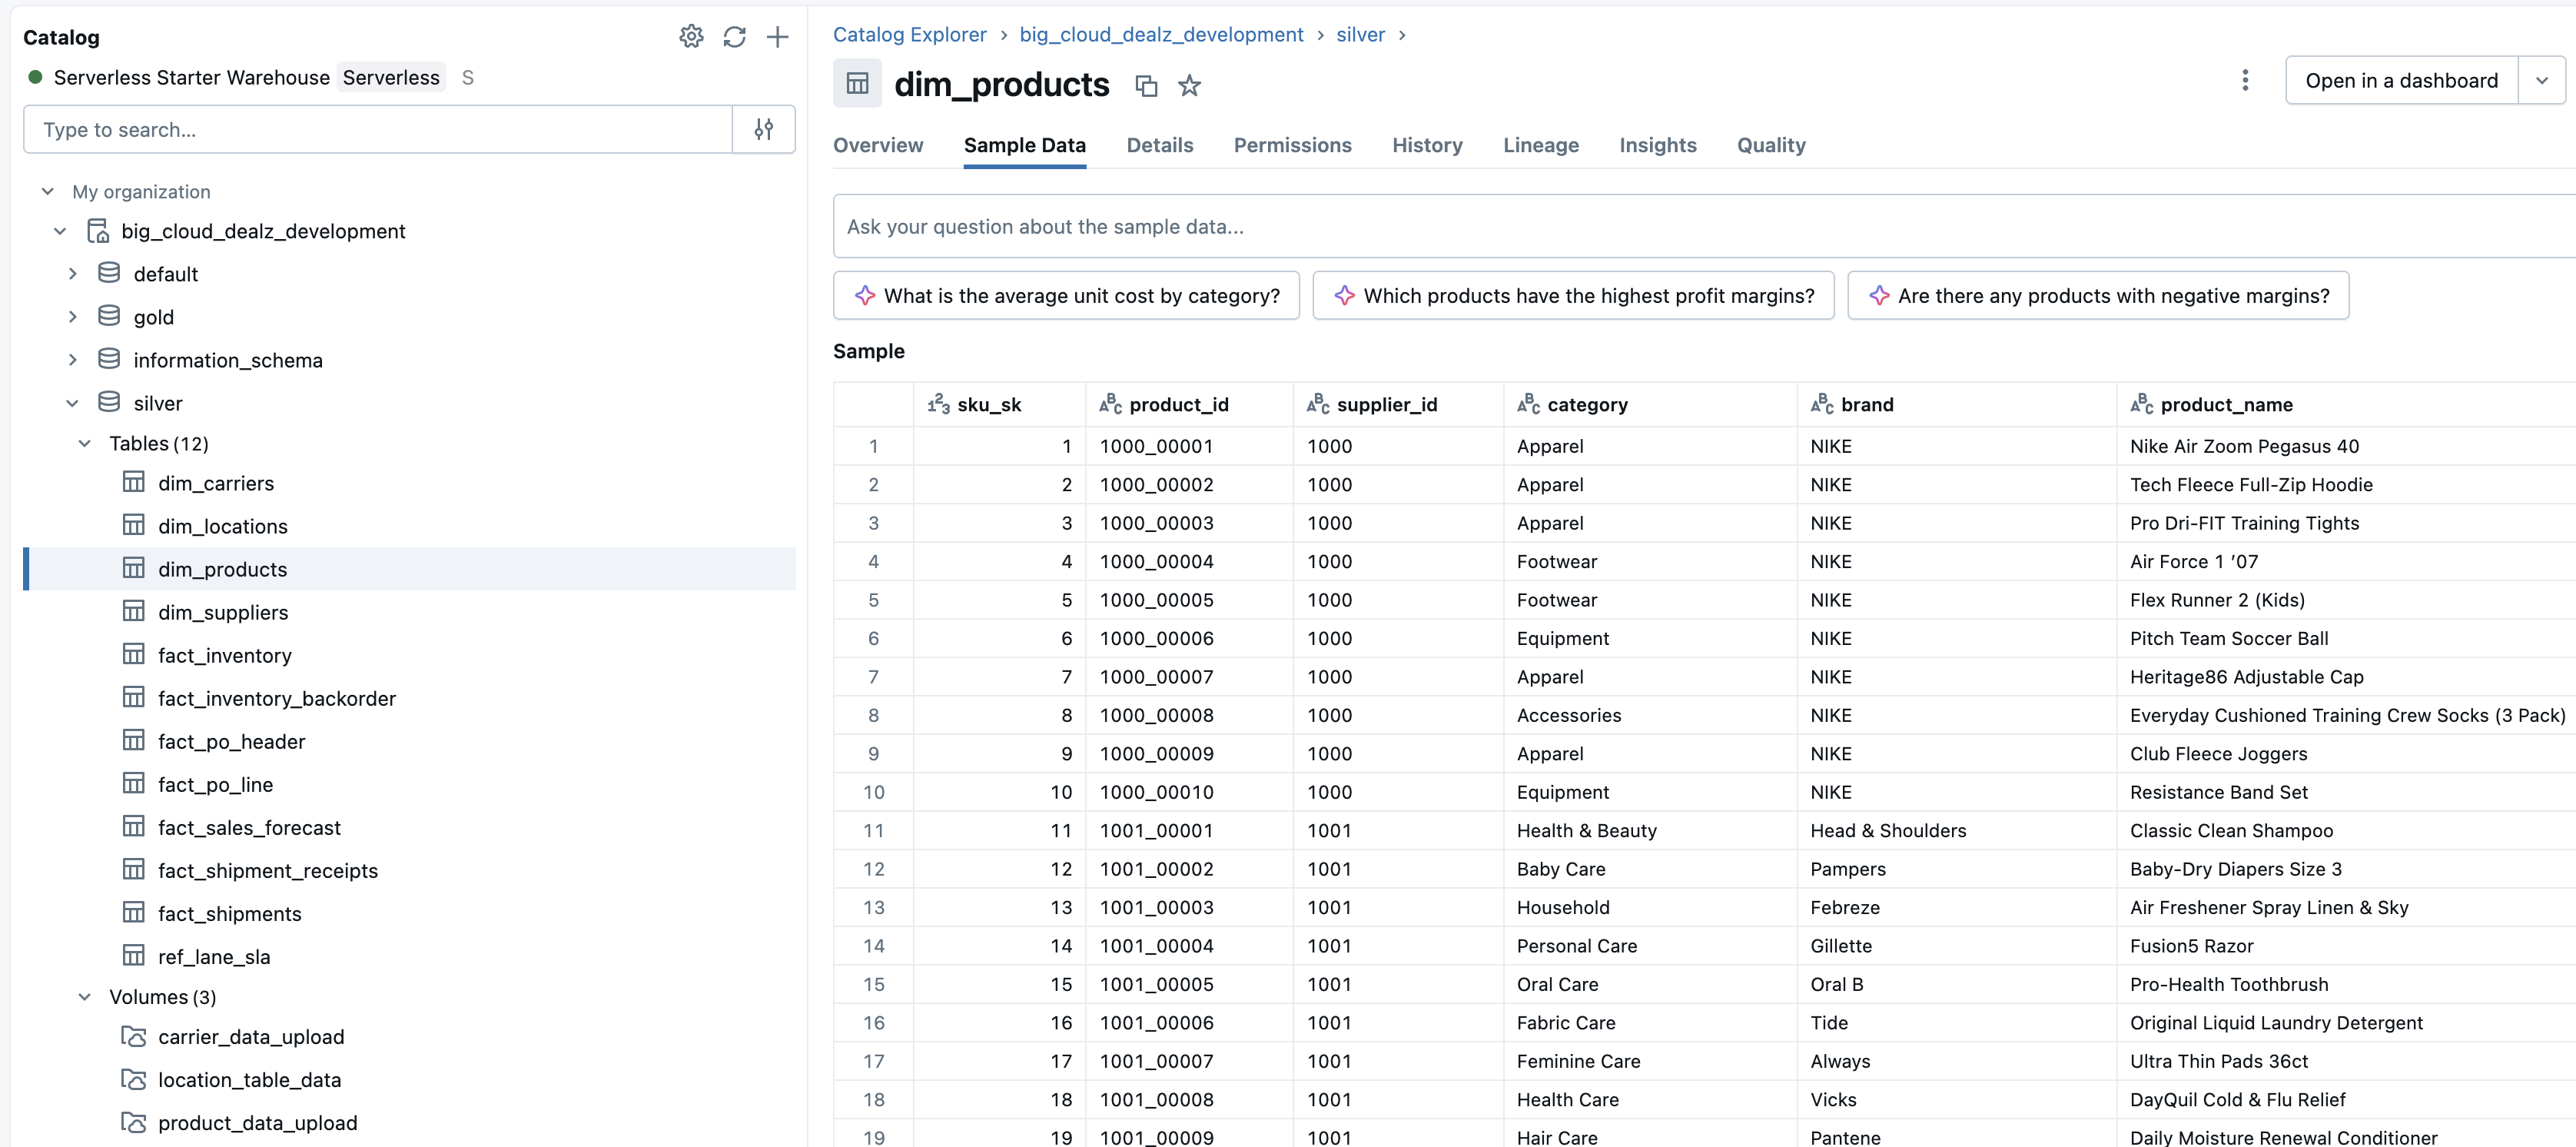
The table is correctly populated with columns for SKU, product ID, supplier, category, brand, and product name. This table can now serve as the single source of truth for all product information, feeding BI dashboards, downstream data models, and ad-hoc analytics that help drive the business forward.
Next in Series
Driving Retail Information Architecture with the Databricks Medallion Architecture
Information architecture within the Information Layer is what transforms a company’s raw data into a single, trusted system of record that fuels knowledge work across every business function. By organizing and governing how data is modeled, related, and exposed through APIs, the Information Layer ensures that every team—from operations to finance to marketing—works from the same version of the truth.
Read next article in series